
Pinterest calls it creating a pin. Most people search for how to post one. Either way the job is the same: pick a photo, write a title and a description, choose a board and send it to Pinterest.
This guide does it in the PinBridge web app, one screen at a time. Every screenshot comes from a real pin we posted to our demo Pinterest account while writing it. The whole thing takes about two minutes. If you would rather not click through forms at all, skip to the last section and let your AI assistant post it.
What you need
- A Pinterest account with at least one board.
- A PinBridge account. The free Playground plan includes 50 pins a month.
- A photo. JPEG, PNG, GIF and WEBP all work, and so does video. On Starter and higher plans you upload the file from your computer. On Playground you paste a link to an image that is already online.
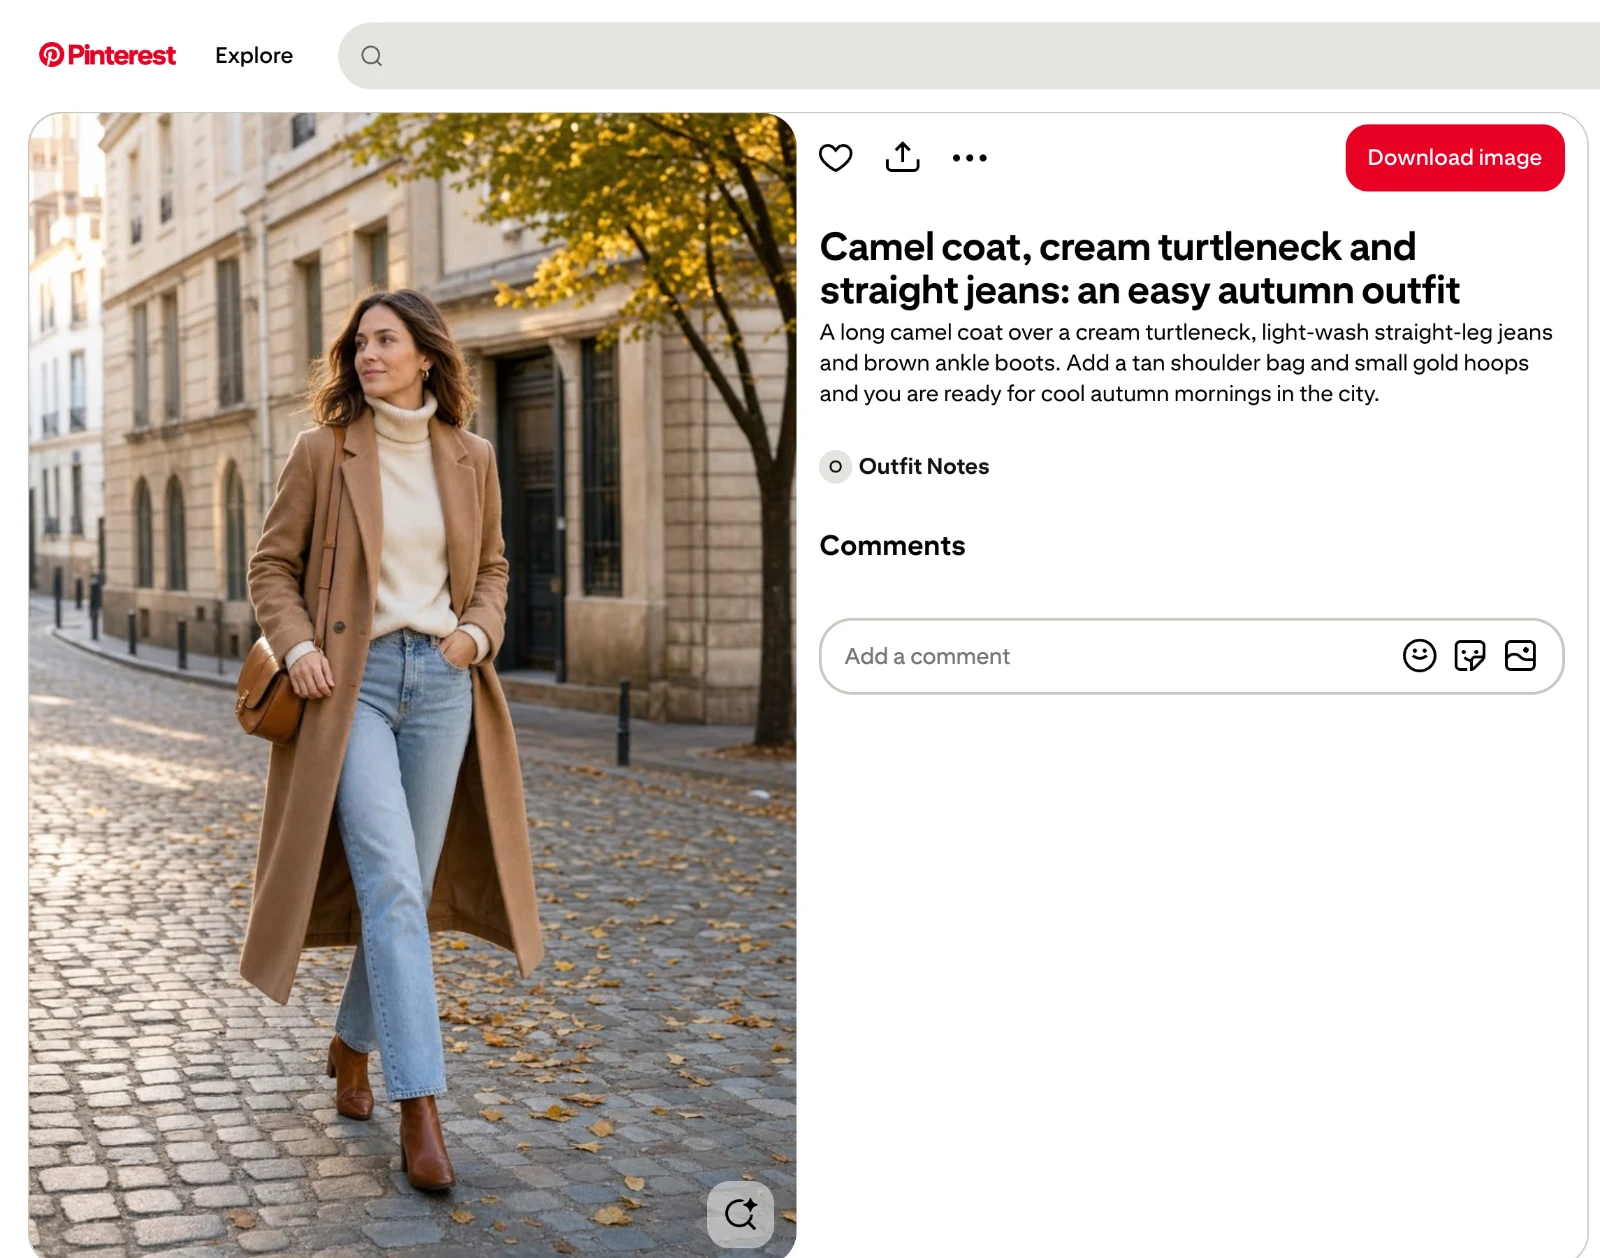
This is the photo we posted: an autumn outfit for a fashion board. It is AI-generated.

Step 1: Open your workspace
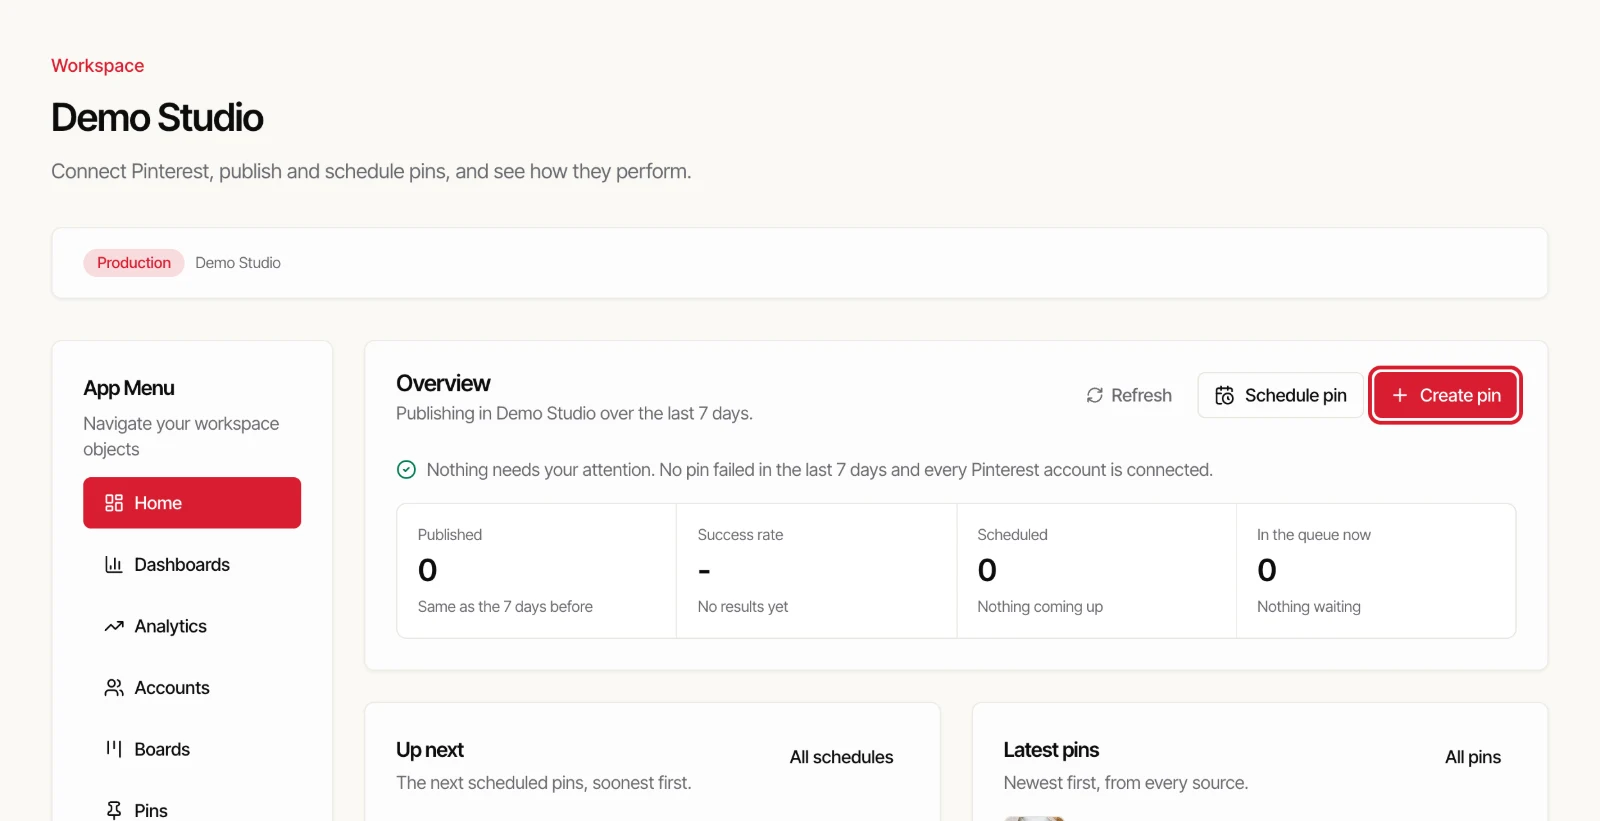
Sign in at app.pinbridge.io. Home shows how many pins went out in the last 7 days, what is scheduled next and your latest pins. The Create pin button at the top right is the quickest way to start. We will take the longer route once so you see where everything lives.
Step 2: Connect your Pinterest account
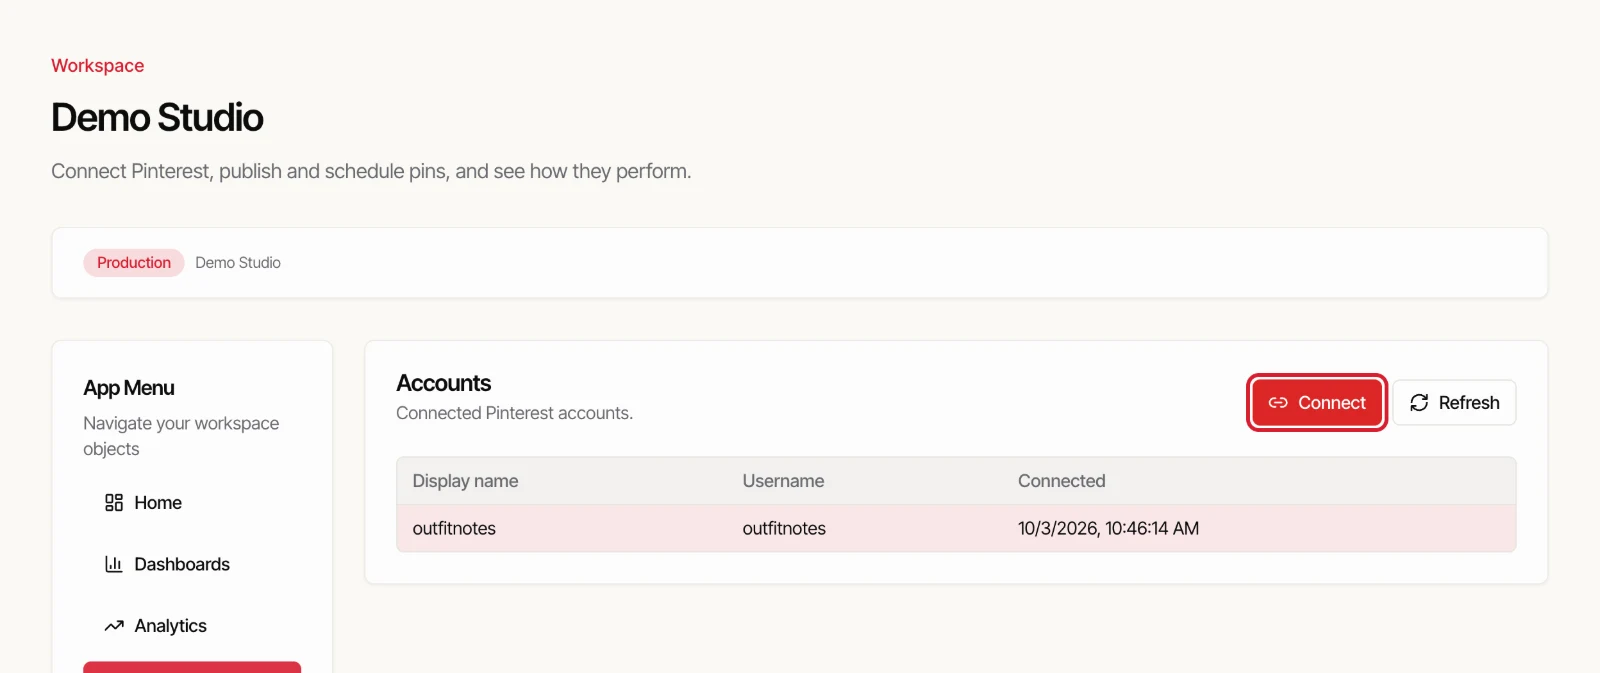
Open Accounts in the menu and press Connect. Pinterest asks you to approve PinBridge and then sends you straight back. You do this once per Pinterest account. Ours is a demo account called outfitnotes.
Step 3: Check your boards
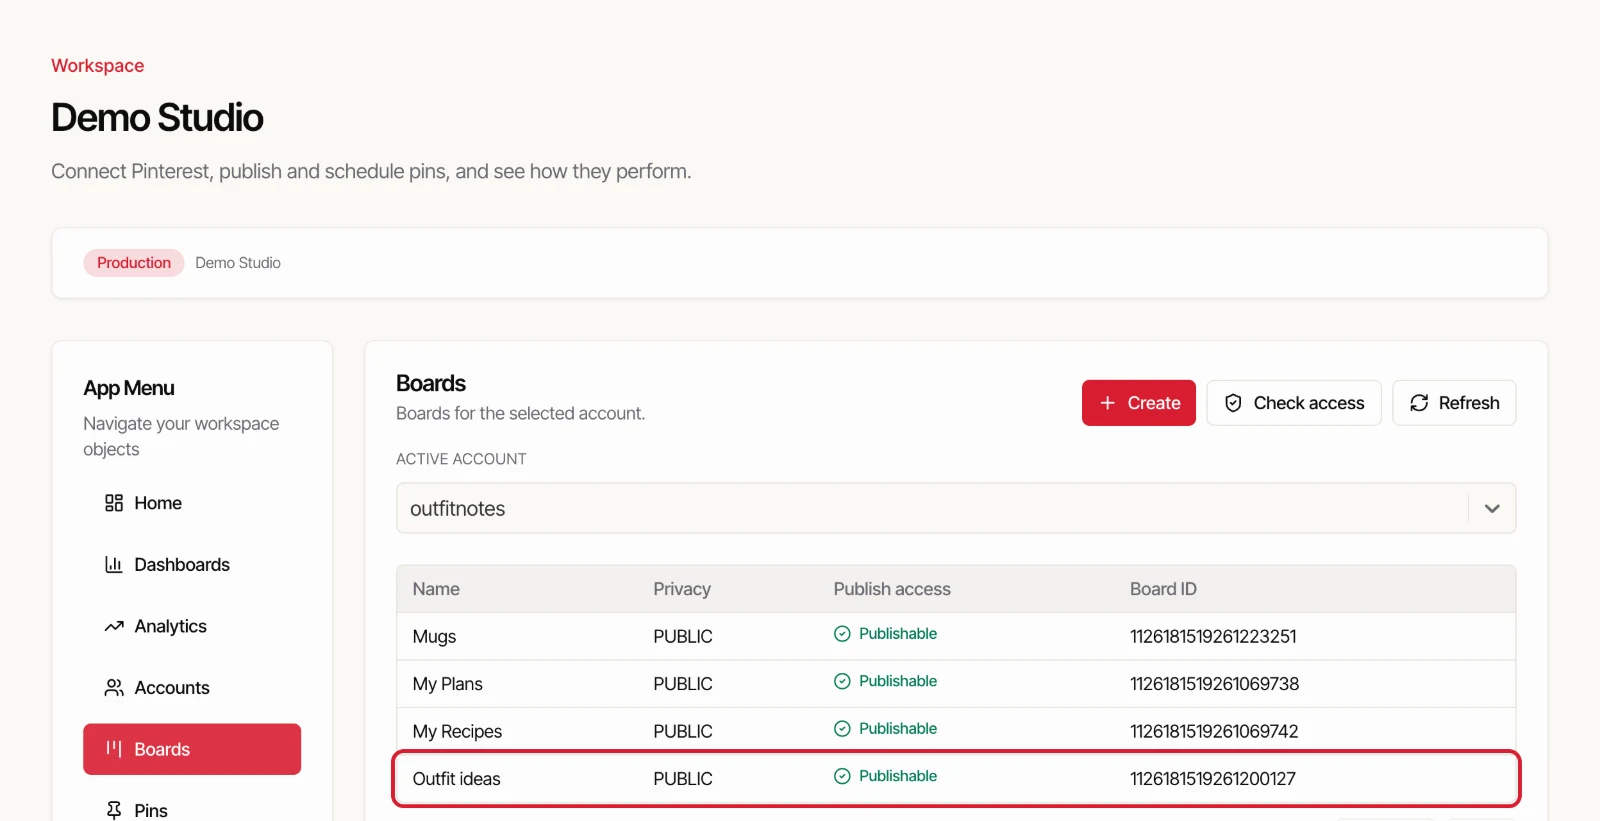
Open Boards. Your boards come over from Pinterest on their own. Publishable means PinBridge is allowed to post to that board. We are posting to Outfit ideas. If you need a new board, press Create here and it is made on Pinterest for you.
Step 4: Create the pin and choose a board
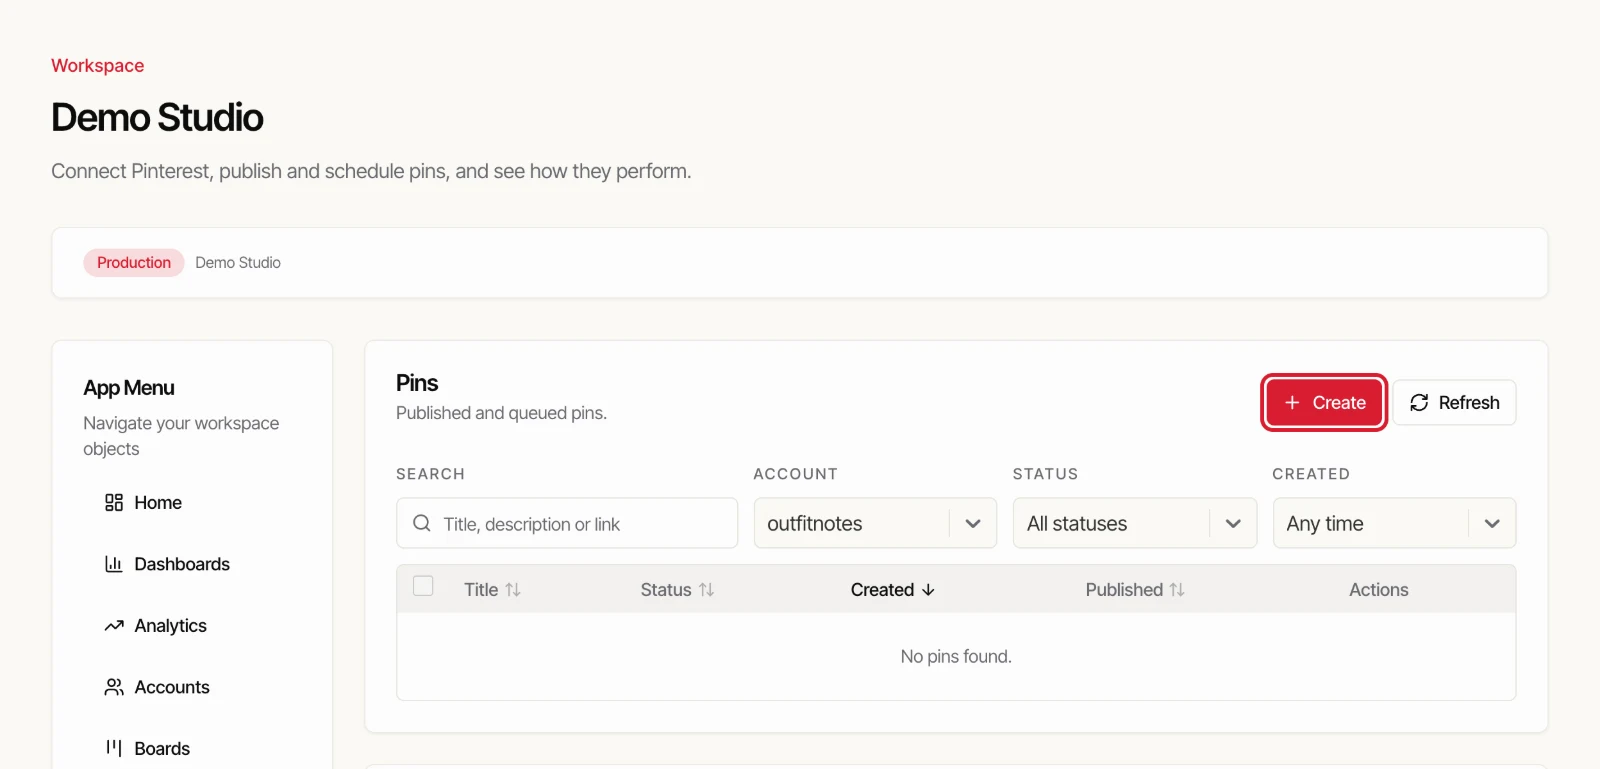
Open Pins and press Create. Every pin you post ends up in this list with its status, so this is also where you come back to check on them.
A form opens with your Pinterest account already filled in. If you connected more than one, pick the one to post to. Then open Board and choose where the pin goes.
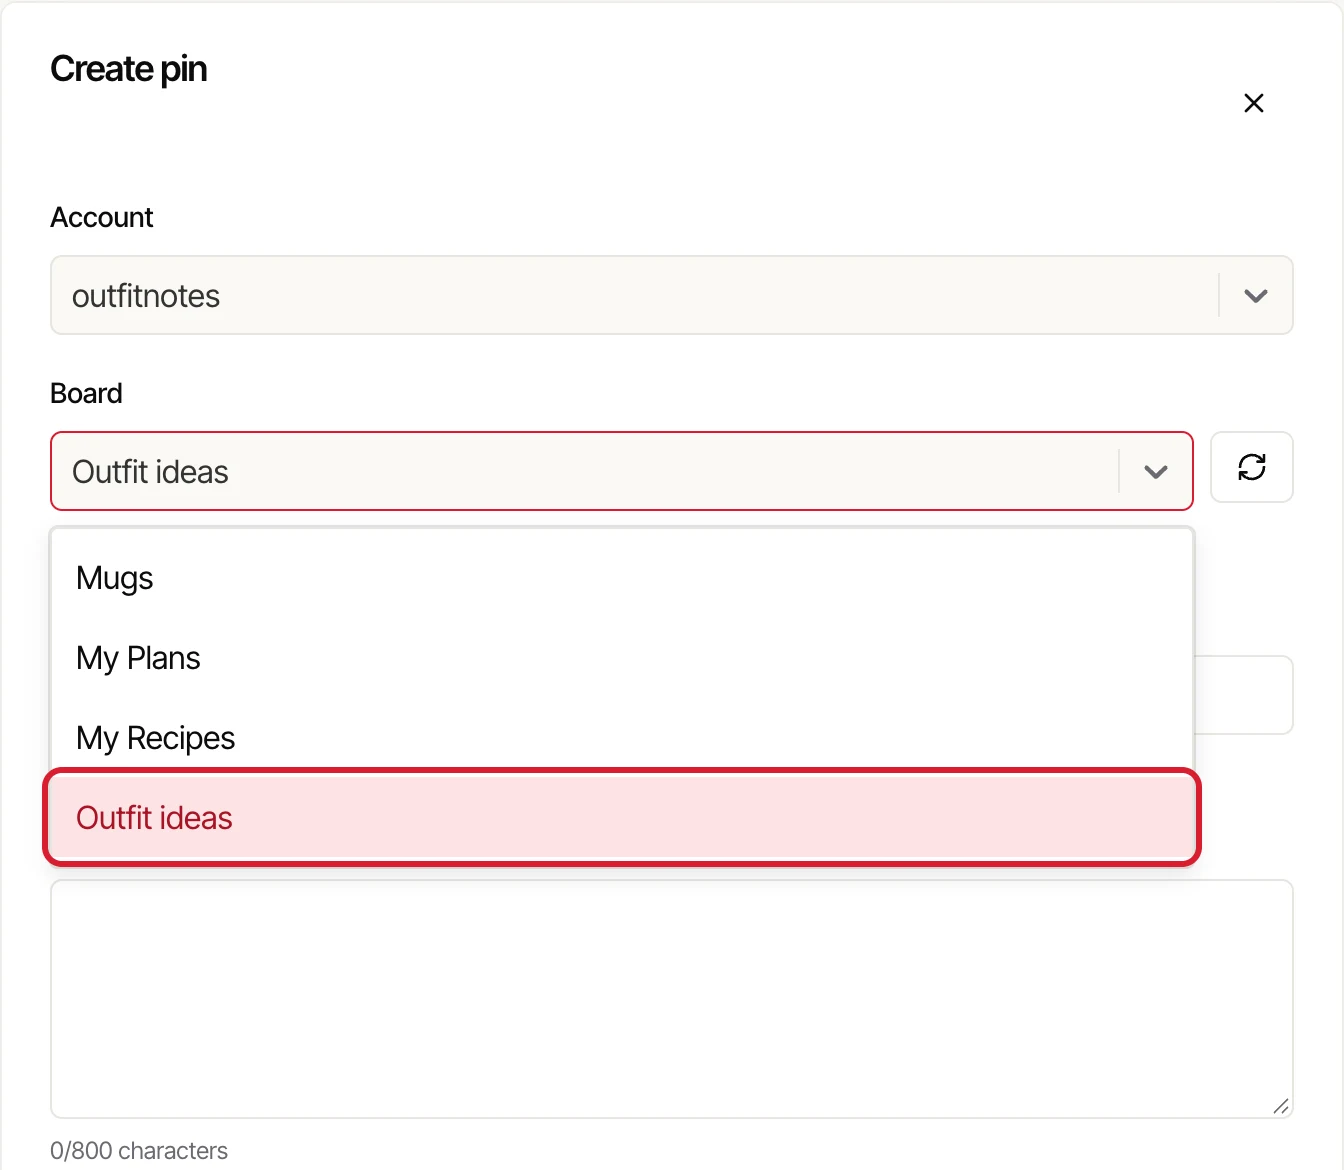
Step 5: Write the title, description and alt text
The title takes up to 100 characters and the description up to 800. Say plainly what is in the photo and who it is for, in the words people type into Pinterest search. “Camel coat outfit for autumn” is easier to find than “fall vibes”.
Alt text, up to 500 characters, describes the image for people who use screen readers. It is optional and takes a minute.
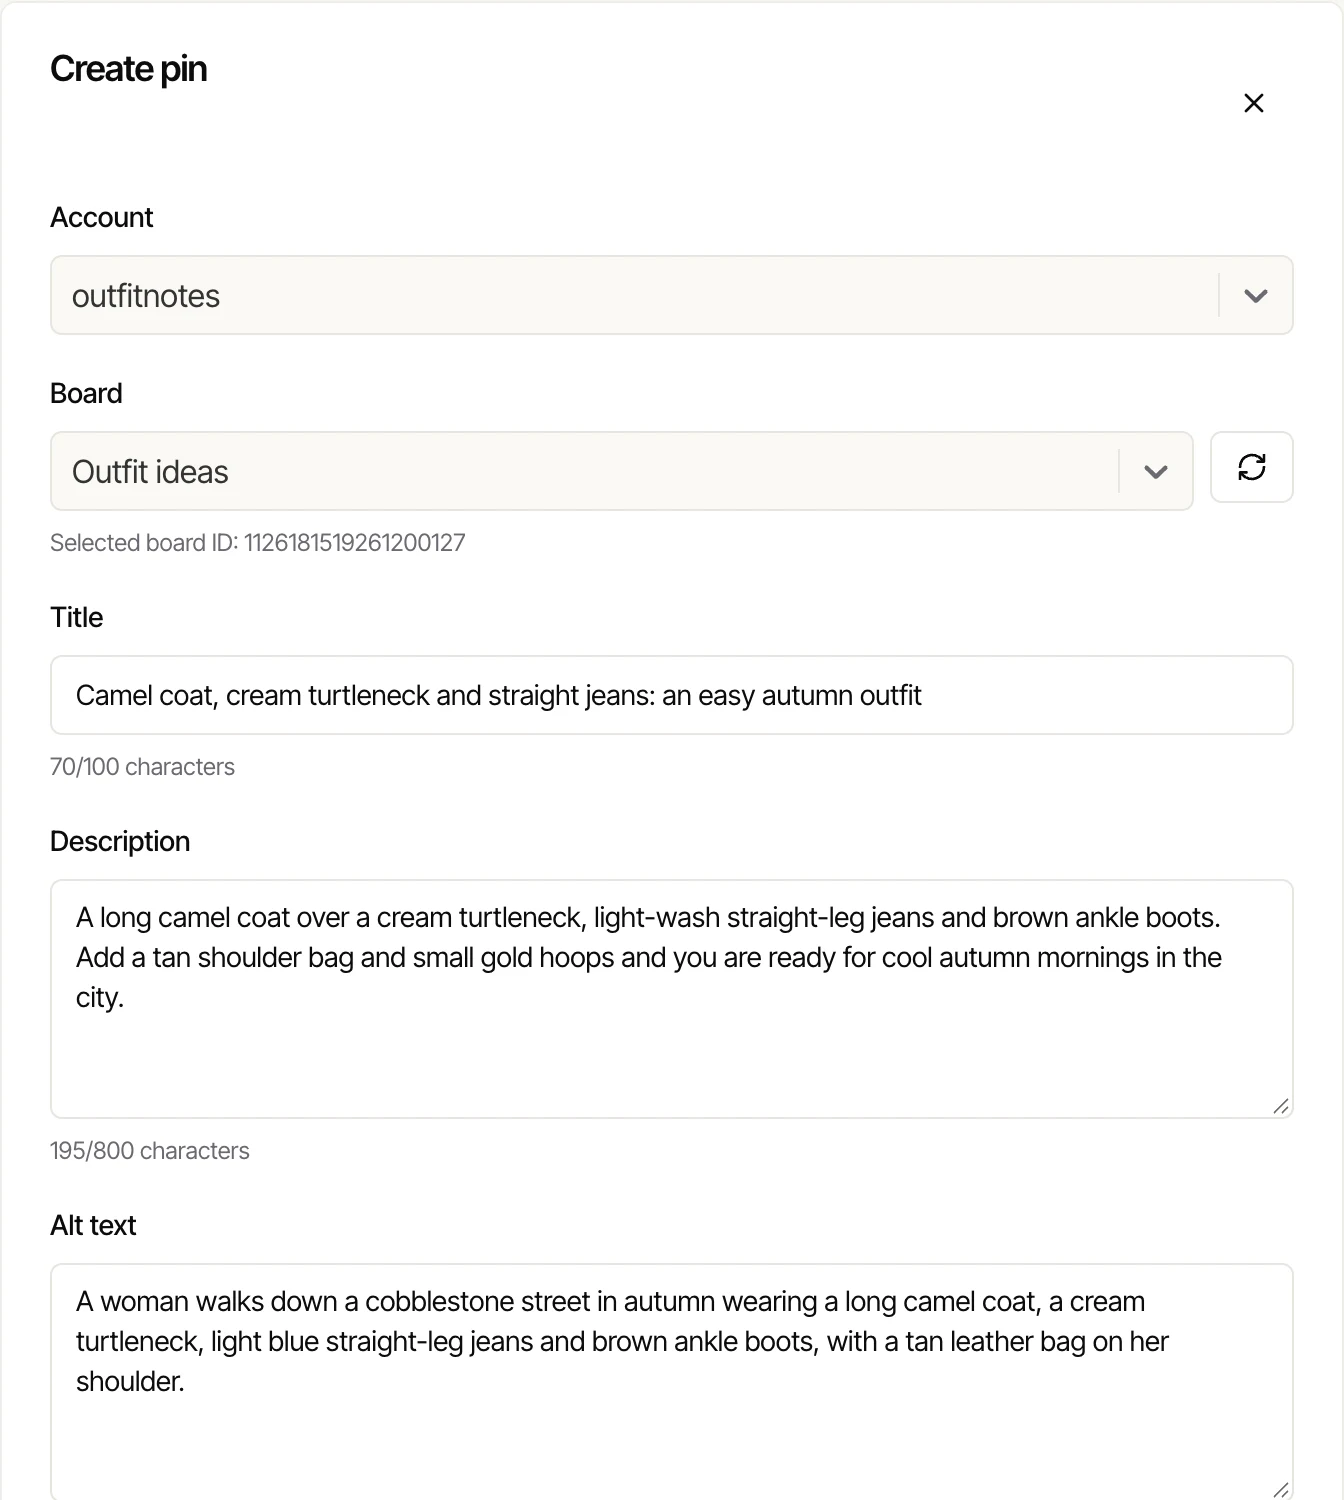
Step 6: Add a link (optional)
Link URL is where people land when they tap the pin: a product page, a recipe, a blog post. Link straight to that page. Pinterest can flag links that pass through redirects or link shorteners. We left ours empty because the demo pin has nothing to sell.
Step 7: Add the photo
Under Media source, choose Upload file and drag your photo or video into the box, or press Browse file. On the Playground plan, choose Public URL instead and paste the link to your image.
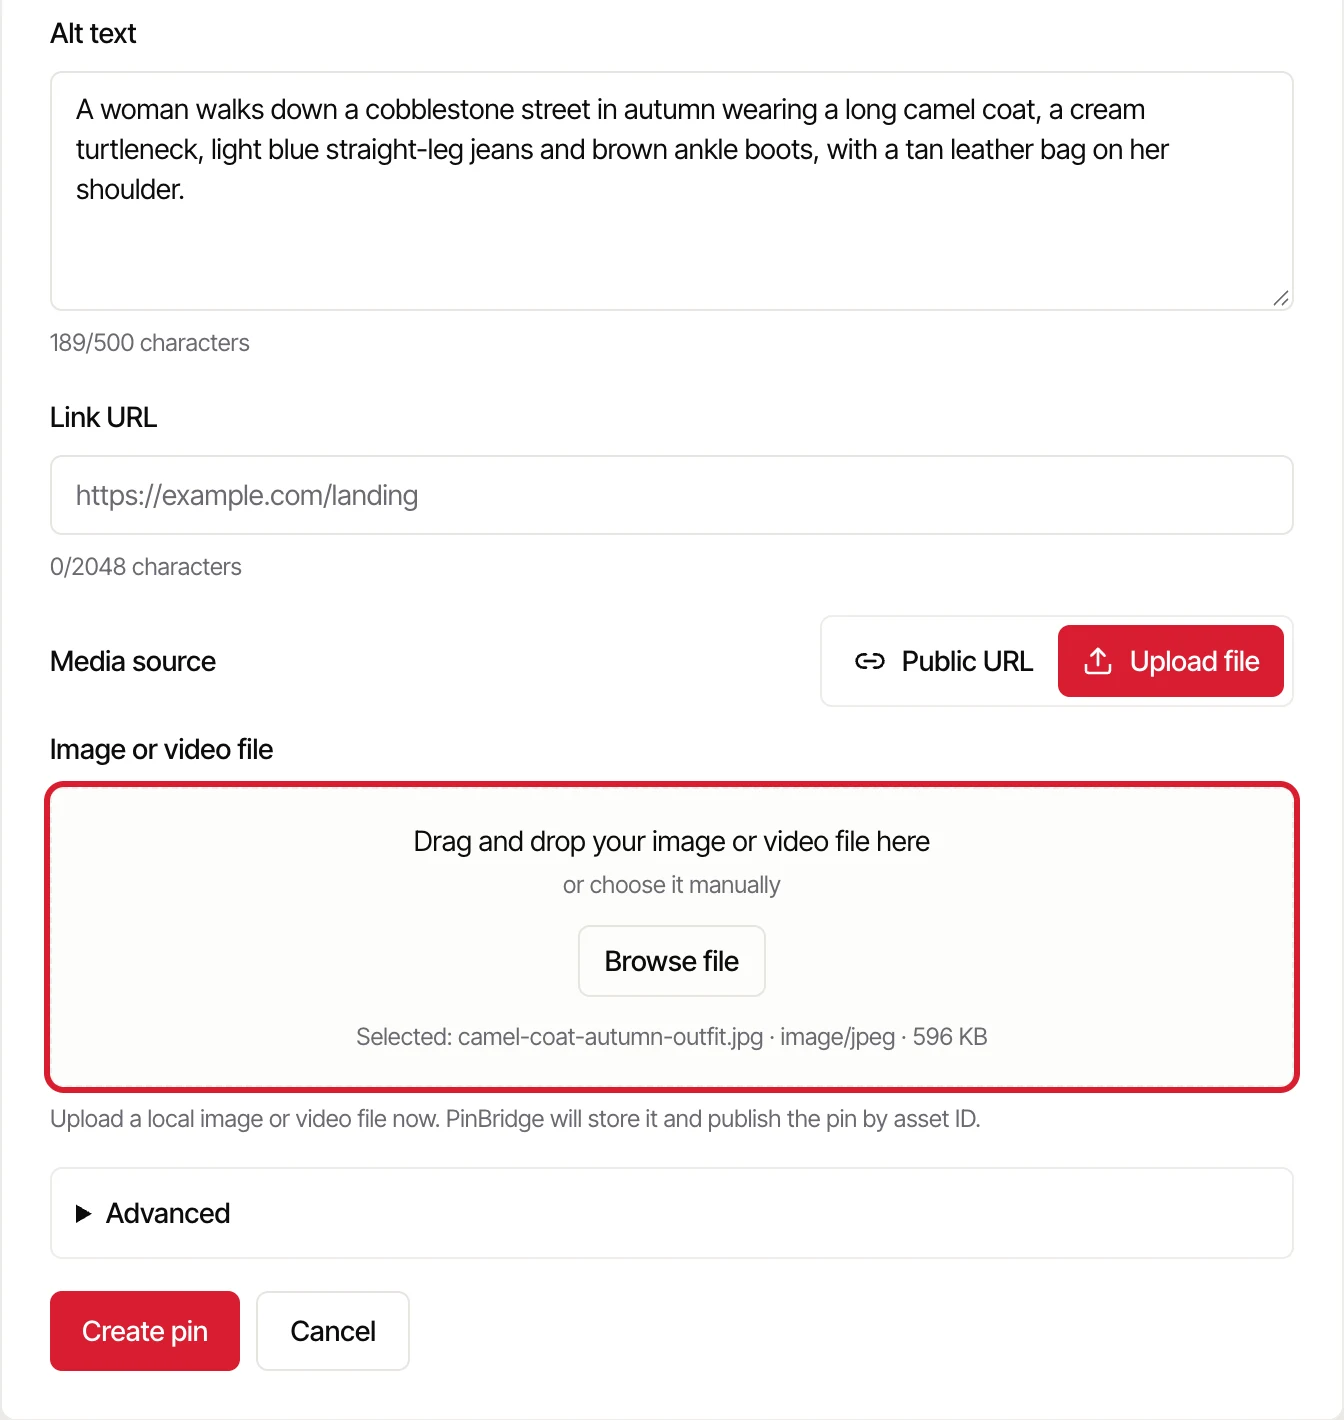
Step 8: Press Create pin
Read it over first. Once a pin is live on Pinterest it can’t be edited, only deleted and posted again. Leave Advanced as it is and press Create pin.
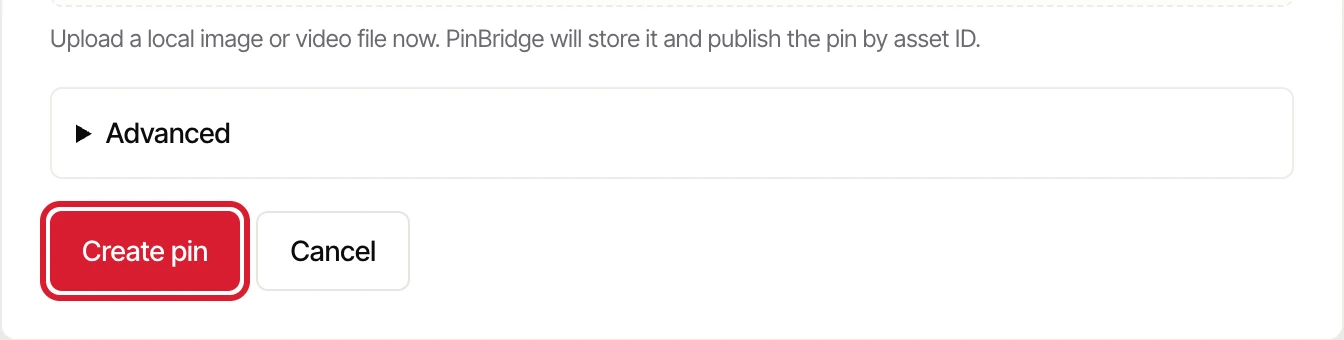
PinBridge shows “Publishing” while it sends the pin. A few seconds later you see Your pin is live, and the pin sits at the top of the list as Published. Ours went out two seconds after we pressed the button.
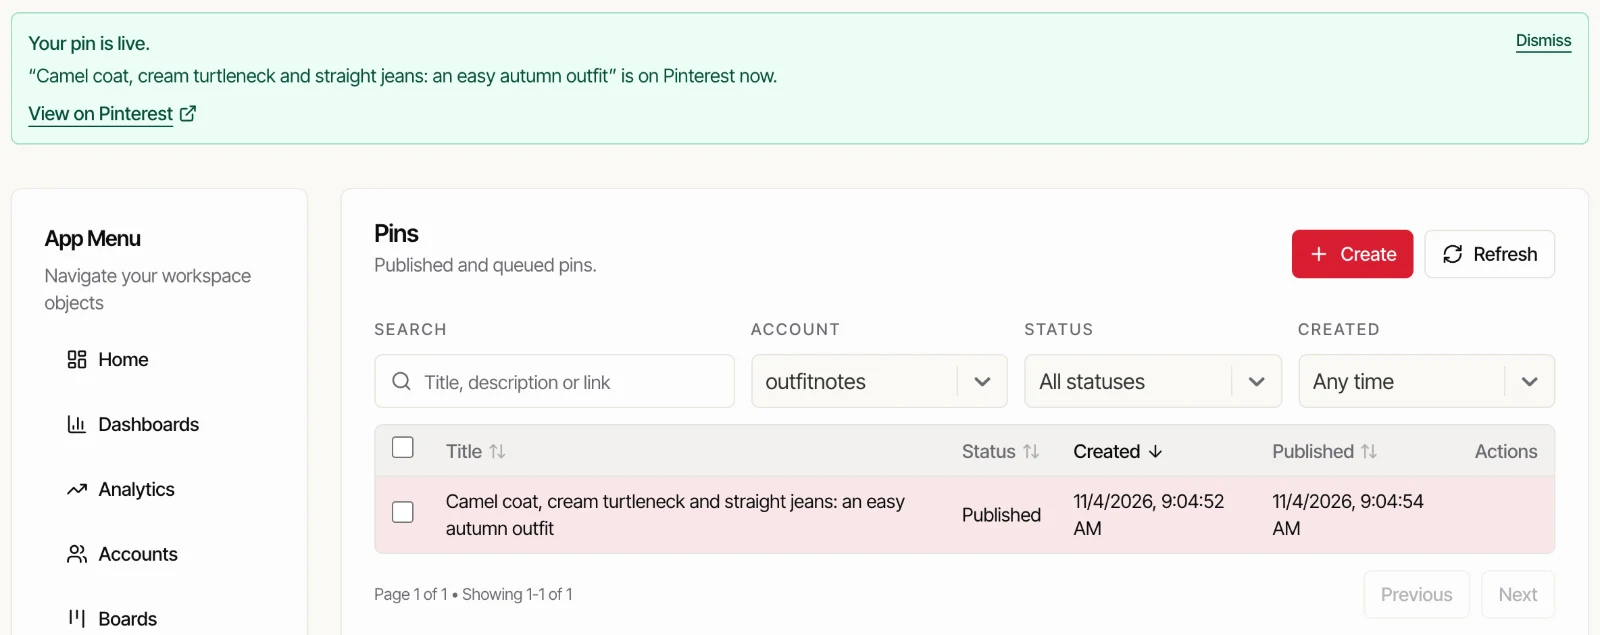
Step 9: See it on Pinterest
Press View on Pinterest to open the live pin. Here is ours on the Outfit ideas board, with the title and description as we typed them.
Post it later instead
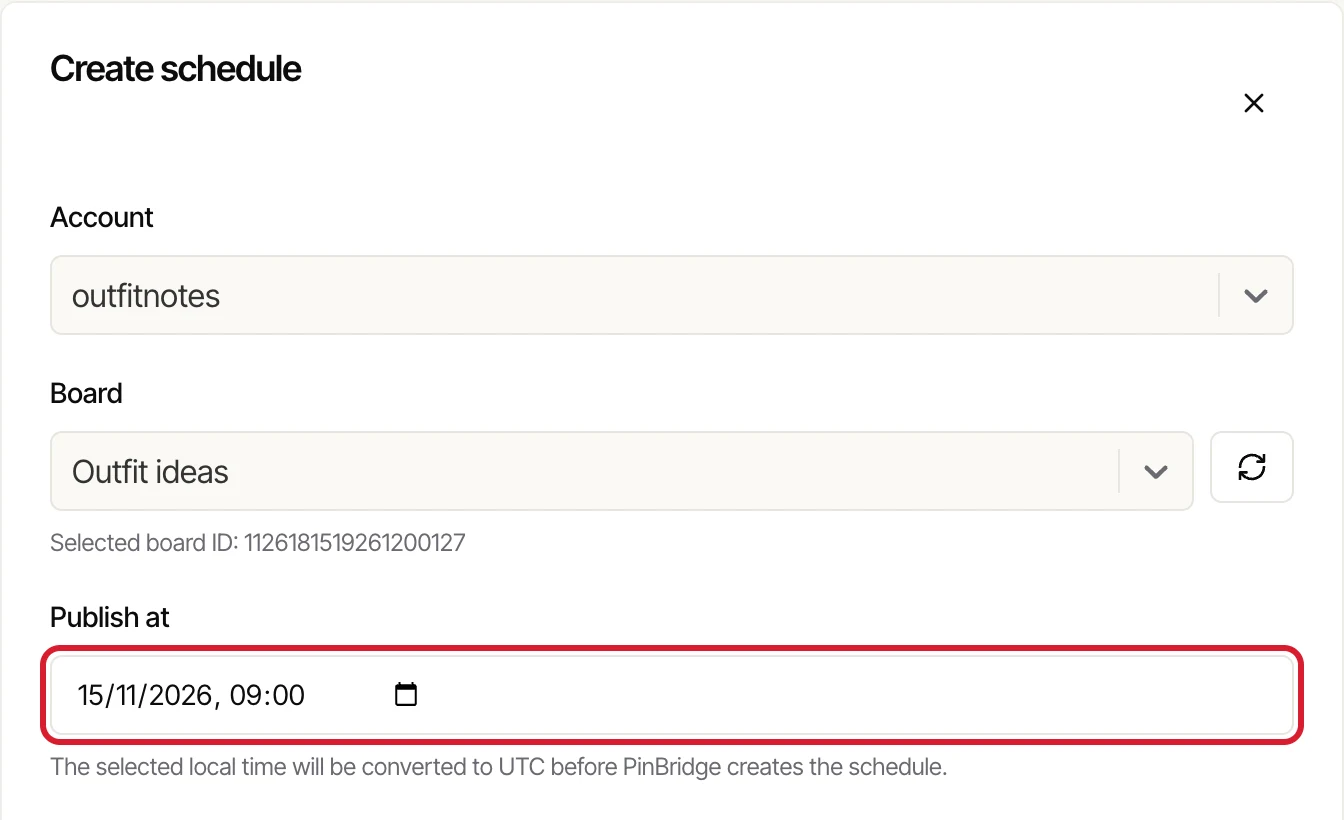
To pick a date and time, open Schedules and press Create, or use Schedule pin on Home. The form is the same one, plus Publish at. Enter the time in your own time zone and PinBridge converts it. The pin waits as Pending, and you can change it until it goes out. There is more on planning a week of pins on our Pinterest scheduler page.
Good to know
- Only pins that go live count toward your monthly plan. A pin that fails doesn’t use one up.
- Pins you post from the web app, from your AI assistant or from an automation all land in the same Pins list.
Skip all of this: post from your AI assistant
You can skip every step above and post straight from your AI assistant. Connect PinBridge to Claude or ChatGPT once. After that, tell it what to pin, which board and when, and it posts the pin or schedules it for you.
 Post from Claude
 Post from ChatGPT